


「既定のプリンターを設定」では、Power Automate Desktopの印刷で使用するプリンタを設定する、あるいは元に戻すことができます。
既定のプリンターを設定
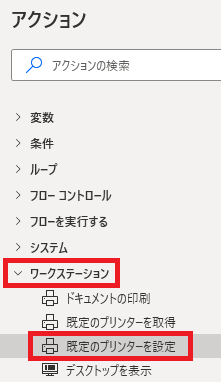
既定のプリンターを設定は、アクションペインのワークステーションから追加できます。
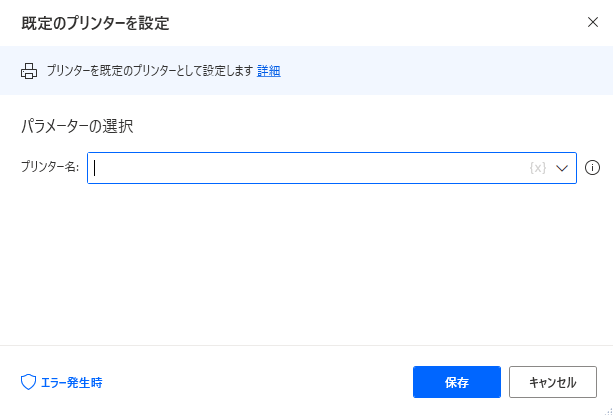
追加するとダイアログが表示されます。
プリンター名
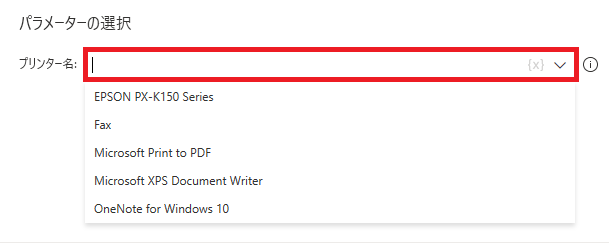
印刷に使用する(既定の)プリンタを一覧から選択できます。直接入力も可です。
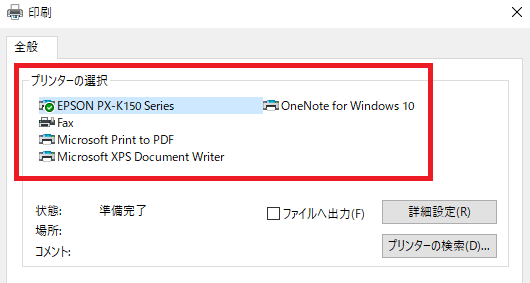
普通に印刷しようとした時に表示されるプリンタが選択できるもの、という形になります。
エラー発生時
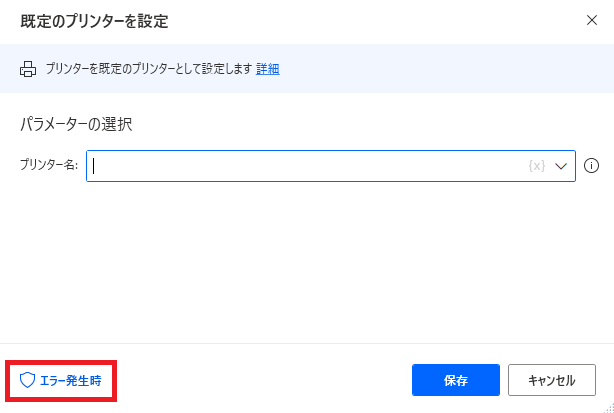
エラー時の処理を設定できます。
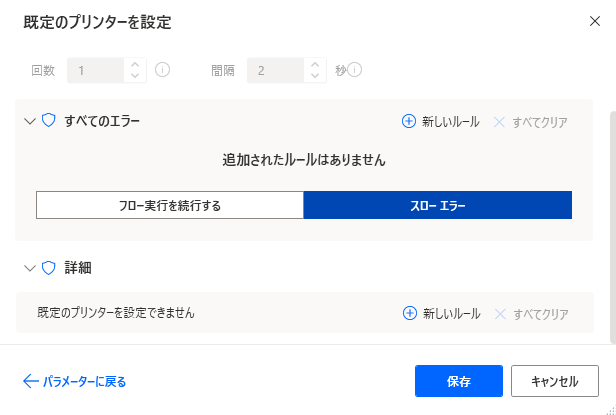
使い方はリンク先参照。詳細では既定のプリンターを設定できない場合を指定できます。
関連記事

既定のプリンタ名を取得する方法です。

既定のプリンタで印刷を実行する方法です。

Microsoft Power Automate Desktop(PAD)アクション、使い方一覧
Power Automate Desktopの使い方を機能・分類別に参照できるまとめです。
sunagitsune.com
2021.11.16

コメント