


「新しいワークシートの追加」アクションを使うと、比較的簡単にシートの追加を自動化することが可能です。
新しいワークシートの追加
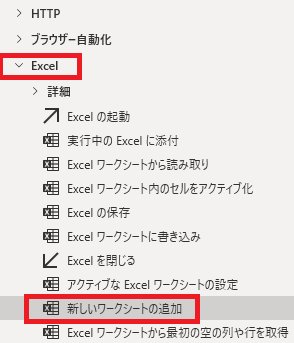
新しいワークシートの追加は、アクションペインのExcelから追加できます。
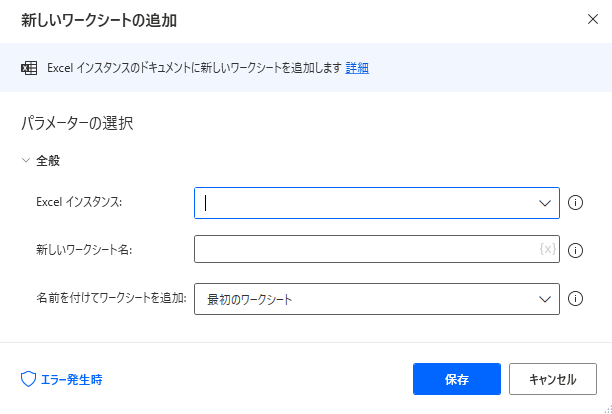
追加するとダイアログが表示されます。
Excelインスタンス
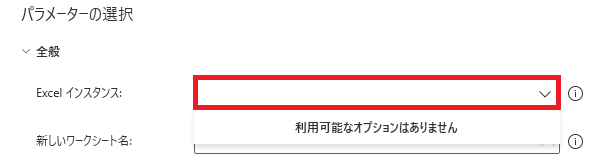
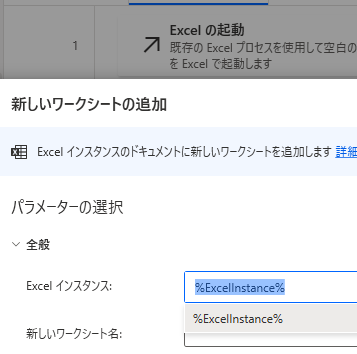
今回はExcelの起動でインスタンス化した新しいExcelファイルを開き、その変数を指定しています。
新しいワークシート名
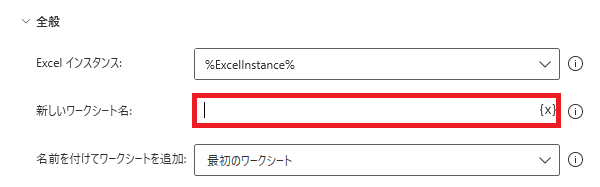
追加するシートの名前を指定します(変数も使用可能)。既に存在する名前をつけるとエラーになります。
名前をつけてワークシートを追加
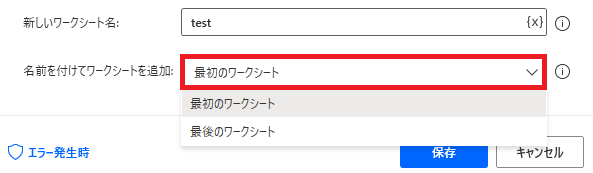
シートを先頭に追加するか、最後尾に追加するかを指定できます。
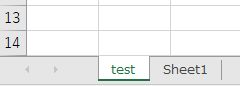
最初のワークシートであれば先頭(一番左)、
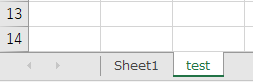
最後のワークシートであれば最後尾(一番右)にシートが追加されます。
エラー発生時
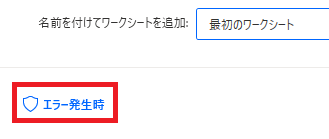
クリックするとエラー時の処理を設定できます。
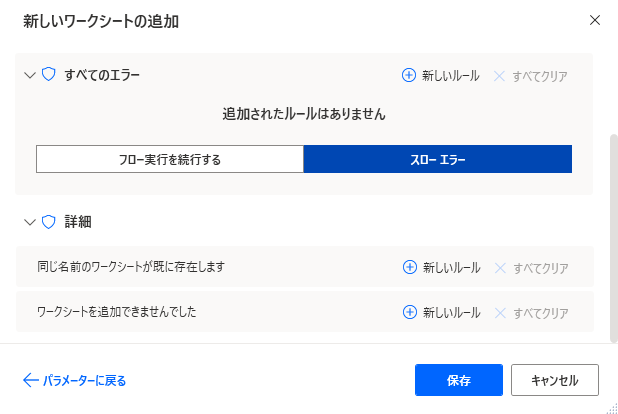
「詳細」では、同じ名前のワークシートが既に存在する、シートを追加できない場合の対応を個別に指定できます。

Microsoft Power Automate Desktop(PAD)アクション、使い方一覧
Power Automate Desktopの使い方を機能・分類別に参照できるまとめです。
sunagitsune.com
2021.11.16


コメント