Excelには専用のスクショ用機能が用意されてるので、まずそれの紹介をします。
その後でPC全般で使えるスクショ方法も紹介します。汎用性は後者のほうが高いです。
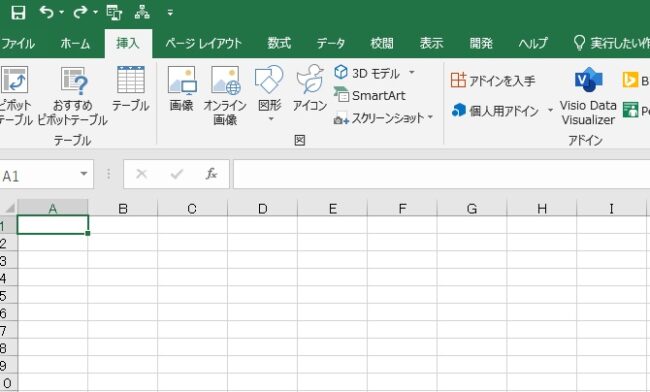
挿入タブからスクリーンショット
ウィンドウ単位でスクショ
![screenshot1](https://sunagitsune.com/wp-content/uploads/2021/04/screenshot1.jpg)
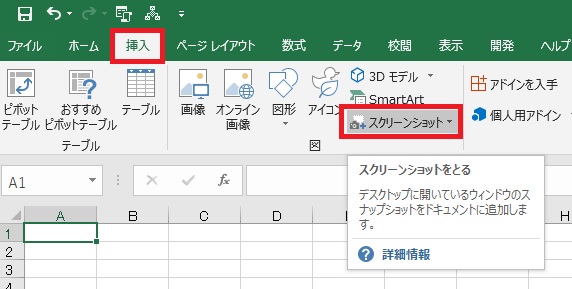
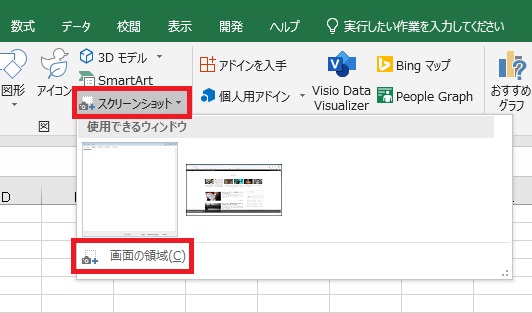
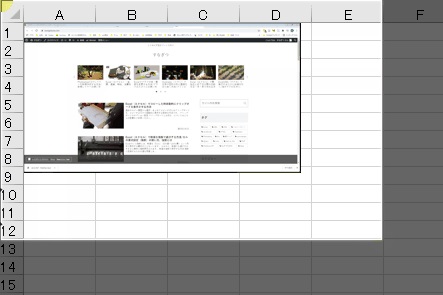
挿入タブからスクリーンショットをクリックすると、
![screenshot2](https://sunagitsune.com/wp-content/uploads/2021/04/screenshot2.jpg)
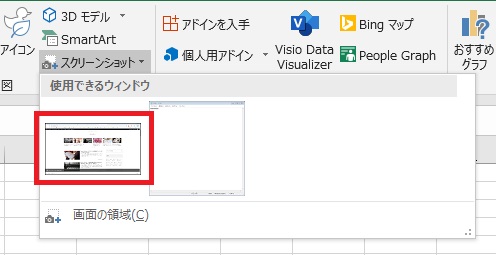
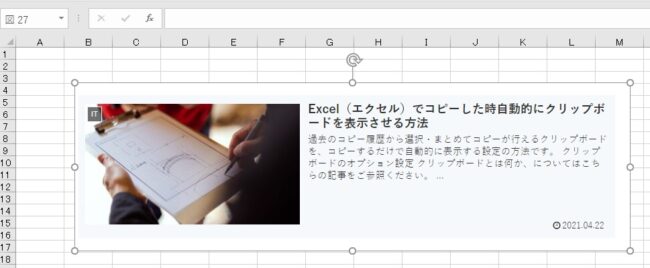
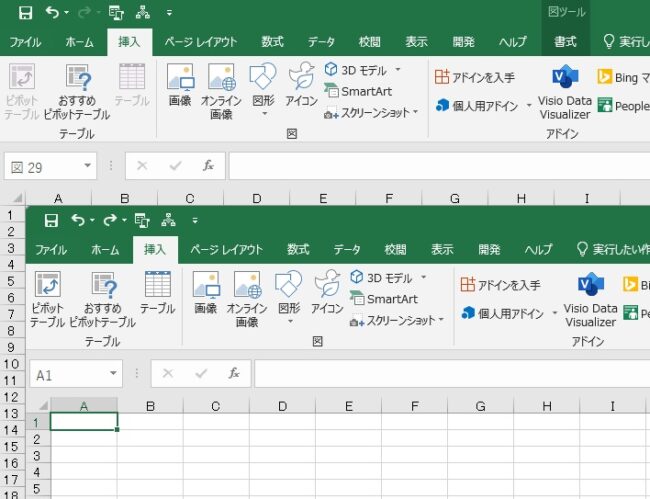
現在表示されている(開かれていて最小化されてない)アプリが「使用できるウィンドウ」に一覧表示されます。このいずれかをクリックすれば、
![screenshot3](https://sunagitsune.com/wp-content/uploads/2021/04/screenshot3-650x425.jpg)
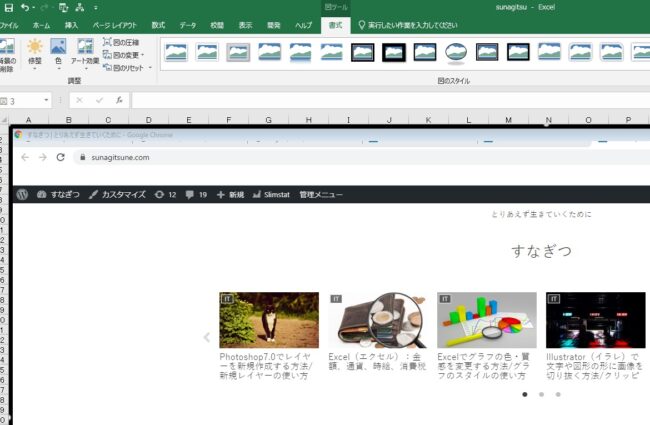
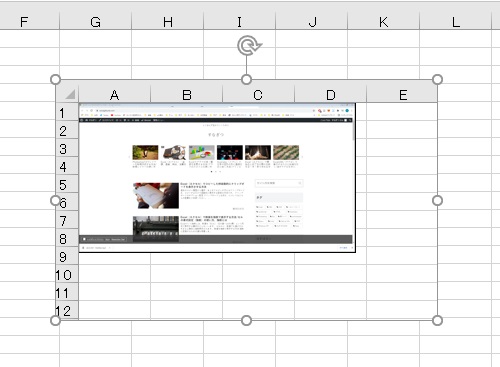
ウィンドウ(各アプリの画面)単位でスクショがされ、Excelにそのまま張り込まれます。
![screenshot4](https://sunagitsune.com/wp-content/uploads/2021/04/screenshot4.jpg)
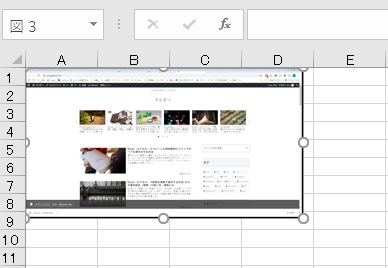
サイズの変更などは他の画像同様行えます。
サイトの画面を貼ったり、ソフトの画面を張り付けたりする際に便利な機能です。
画面の領域で切り取ってスクショ
![screenshot6](https://sunagitsune.com/wp-content/uploads/2021/04/screenshot6.jpg)
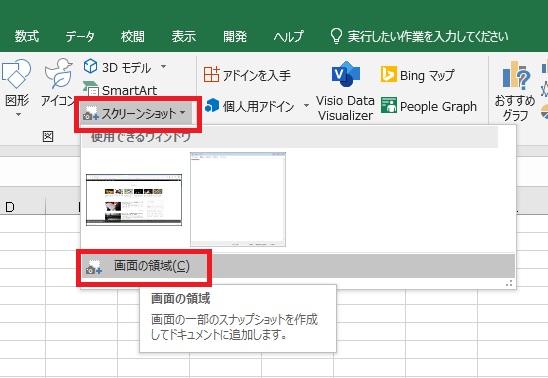
スクリーンショットで画面の領域をクリックすると、
![screenshot7](https://sunagitsune.com/wp-content/uploads/2021/04/screenshot7.jpg)
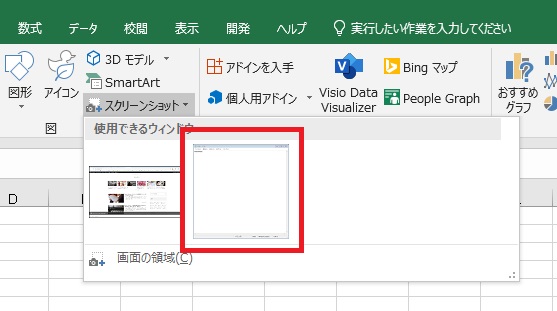
「使用できるウィンドウ」の中で一番左にあるウィンドウが最前面となり、
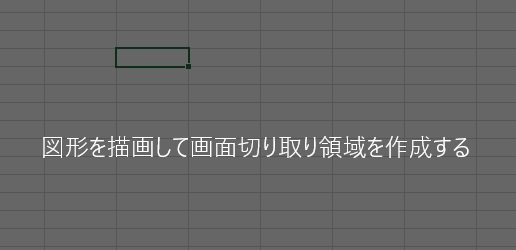
![screenshot8](https://sunagitsune.com/wp-content/uploads/2021/04/screenshot8-650x465.jpg)
このように白いエフェクトがかかります。
![screenshot12](https://sunagitsune.com/wp-content/uploads/2021/04/screenshot12-650x438.jpg)
ドラッグで範囲選択した範囲が鮮明になり、
![screenshot13](https://sunagitsune.com/wp-content/uploads/2021/04/screenshot13-650x268.jpg)
指を離すと、それがそのままキャプチャされてExcelに貼り付けられます。
![screenshot14](https://sunagitsune.com/wp-content/uploads/2021/04/screenshot14.jpg)
一番左にないウィンドウを領域キャプチャする場合は、
![screenshot16](https://sunagitsune.com/wp-content/uploads/2021/04/screenshot16-650x299.jpg)
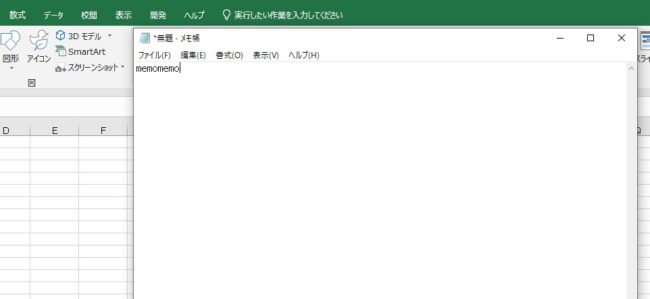
一度そのソフトやブラウザをクリックしてやると、
![screenshot17](https://sunagitsune.com/wp-content/uploads/2021/04/screenshot17.jpg)
一番左にくるので、その後で画面の領域をクリックします。
ショートカットでスクリーンショット
全体スクショ
デスクトップ全体をキャプチャ
PrintScreen(Windows)
Command+Shift+3(Mac)
PrintScreen(Windows)
Command+Shift+3(Mac)
![screenshot18](https://sunagitsune.com/wp-content/uploads/2021/04/screenshot18-650x392.jpg)
今デスクトップに表示してる画面をそのまま表示するには、PrintScreen(MacではCommand+Shift+3)を押します。
![screenshot19](https://sunagitsune.com/wp-content/uploads/2021/04/screenshot19-650x499.jpg)
取得したスクリーンショットをCtrl+V(MacではCommand+V)などで貼り付けます。
ペイントなどに一度貼り付けて、好きなサイズにトリミングするのも有効です(このブログの画像はほとんどそうやって作ってます)。
領域スクショ
画面を切り取ってキャプチャ
Windows+Shift+S(Windows)
Command+Shift+4(Mac)
Windows+Shift+S(Windows)
Command+Shift+4(Mac)
![screenshot9](https://sunagitsune.com/wp-content/uploads/2021/04/screenshot9.jpg)
領域を選択してキャプチャする場合は、スクショしたい画面を表示した上でWindows+Shift+Sを押します。(MacではCommand+Shift+4)
画面がこのように暗くなるので、
画面がこのように暗くなるので、
![screenshot10](https://sunagitsune.com/wp-content/uploads/2021/04/screenshot10.jpg)
そのままドラッグすると、選択範囲がクリップボードに保管されるので、
![screenshot11](https://sunagitsune.com/wp-content/uploads/2021/04/screenshot11.jpg)
Ctrl+V(MacではCommand+V)などで貼り付けます。
このショートカットはExcel専用ではないので、メールに画像貼ったりするのにも使えます。
![](https://sunagitsune.com/wp-content/uploads/2020/01/workplace-2303849_1280-160x90.jpg)
Excel(エクセル)で使える時短ショートカット集
Excelでよく使う(あるいは人によっては役にたつ)ショートカットを集めてみました。
![](https://sunagitsune.com/wp-content/uploads/2018/10/gui-2311261_1280.png)
やりたいことから方法を探すエクセル(Excel)操作・関数・VBA(マクロ)逆引きまとめ
逆引き(やりたいことから探す)Excel記事まとめ
コメント