


「画面の解像度を設定」では、モニタの解像度、ビット数、リフレッシュレートを変更することができます。
画面の解像度を設定
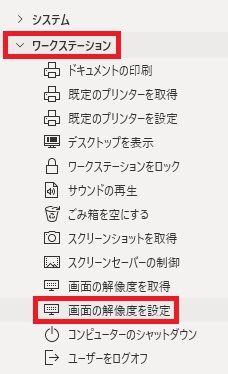
画面の解像度を設定は、アクションペインのワークステーションから追加できます。
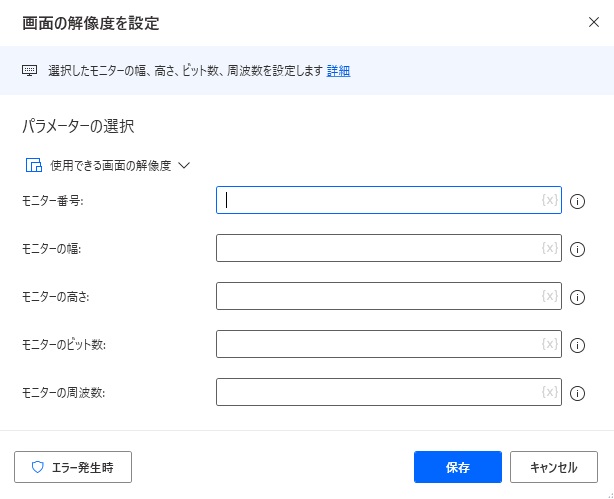
追加するとダイアログが表示されます。見慣れない項目もあるかもしれませんが、
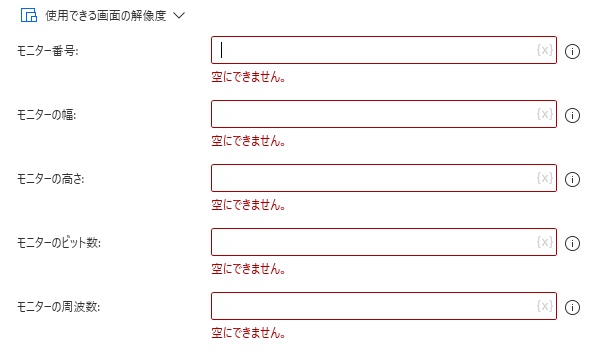
全部入れないとエラーになるので、何入れていいかわからない項目は解像度を取得して、変数をそのまま流用する(または値を書き写す)のが吉です。
モニター番号

設定を適用するモニタの番号を指定します。デュアルディスプレイでない場合は1となります。
モニターの幅

画面解像度の横幅をピクセルで指定します。
モニターの高さ

画面解像度の縦幅をピクセルで指定します。
モニターのビット数

bit数=何色表示できるか的な意味です。一般的なモニタだと32になると思います。
モニターの周波数

1秒に何回画面を更新するかを指定できます。ゲーミングモニタなどだと通常高い数値になります。
エラー発生時
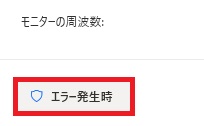
エラー時の処理を既定できます。
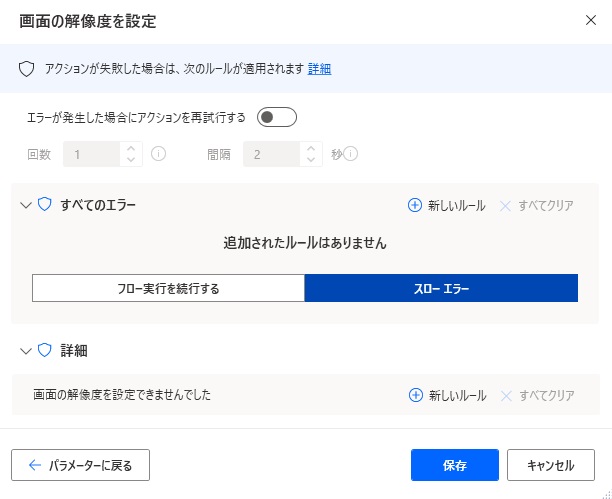
詳細では、画面の解像度を設定できない場合だけを指定できます。

Microsoft Power Automate Desktop(PAD)アクション、使い方一覧
Power Automate Desktopの使い方を機能・分類別に参照できるまとめです。
sunagitsune.com
2021.11.16


コメント