Animation機能を使うと、オブジェクトをほっといても動くようにすることができます。
今回はAnimationで単純に自動でアニメするオブジェクトを作り、その速度を変更するところまで作ります。
成果物
![anm2](https://sunagitsune.com/wp-content/uploads/2021/07/anm2.gif)
複数の画像を組み合わせてアニメを作り、画像が切り替わる速度を変更します。
Animationの作り方
![animation1](https://sunagitsune.com/wp-content/uploads/2021/07/animation1.png)
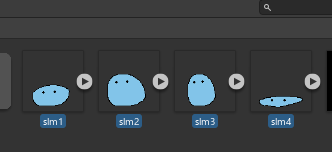
いくつか画像を作っておいて、Shiftを押しながらまとめて選択し、シーンビューに放り込むと、
![animation2](https://sunagitsune.com/wp-content/uploads/2021/07/animation2.png)
animなる拡張子のファイルを作る旨ウィンドウが出るので、OKを押します。
![animation3](https://sunagitsune.com/wp-content/uploads/2021/07/animation3.png)
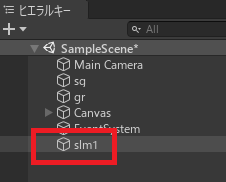
4つの画像が統合されたオブジェクトが作成され、Assetsにも何か色々増えます。とりあえずこの段階でゲームを実行すると、
![anm1](https://sunagitsune.com/wp-content/uploads/2021/07/anm1.gif)
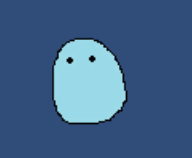
勝手にアニメーションするオブジェクトが作られていることが確認できます。
画像が切り替わる速度の変更
![animation4](https://sunagitsune.com/wp-content/uploads/2021/07/animation4.png)
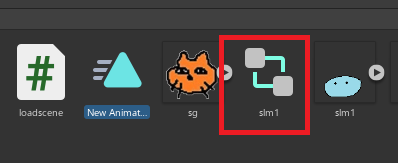
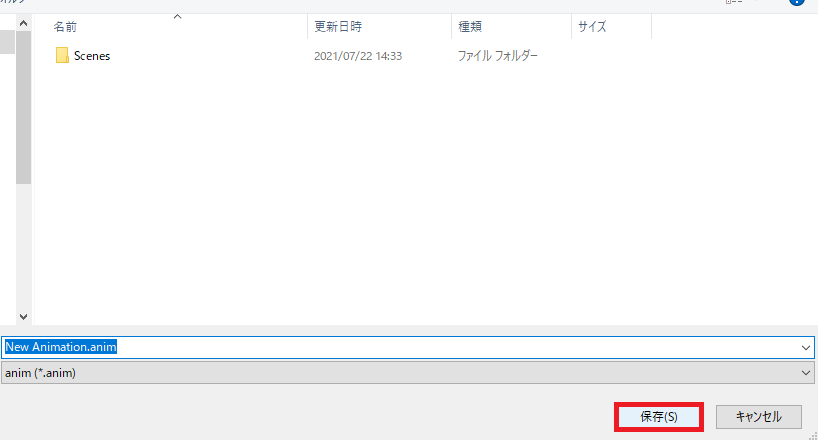
Assetsにふたつアセットが追加されているはずですが、登録した画像の名前がついた四角形のほうをダブルクリックすると、
![animation6](https://sunagitsune.com/wp-content/uploads/2021/07/animation6.png)
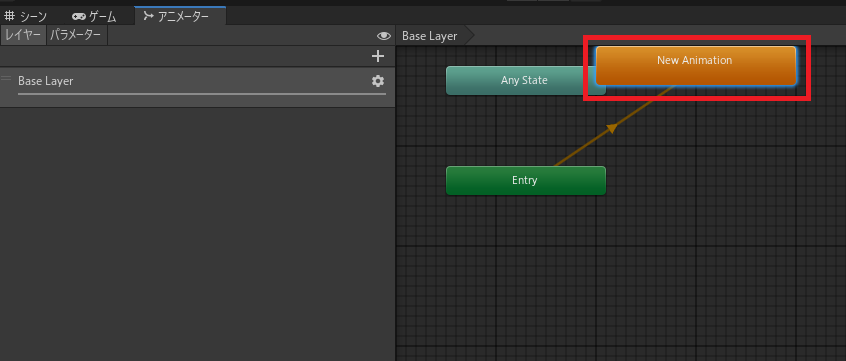
アニメータータブが開くので、New Animationをクリックします。
![animation7](https://sunagitsune.com/wp-content/uploads/2021/07/animation7.png)
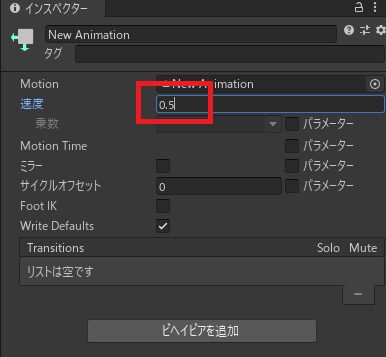
速度をデフォルトの1から任意の値に変更し、
![animation8](https://sunagitsune.com/wp-content/uploads/2021/07/animation8.png)
アニメータータブはタブの上で右クリック→タブを閉じるで一度閉じます。
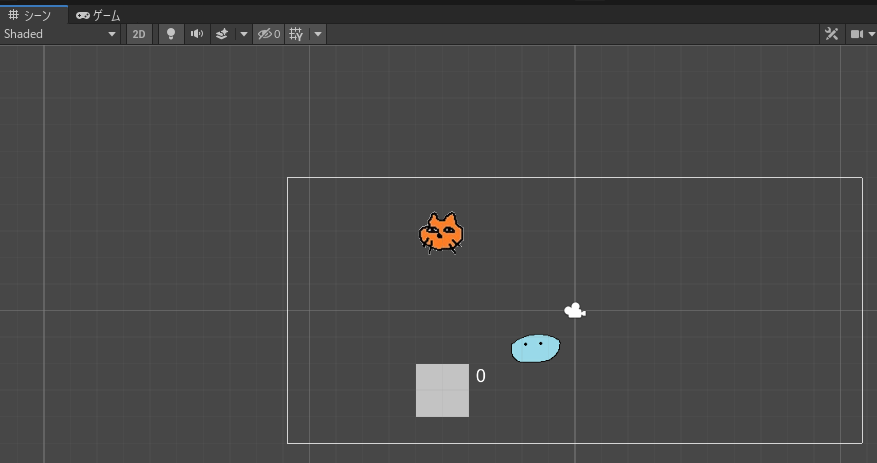
![animation9](https://sunagitsune.com/wp-content/uploads/2021/07/animation9.png)
再度ゲームを実行すると、
![anm2](https://sunagitsune.com/wp-content/uploads/2021/07/anm2.gif)
自動アニメーションの速度が変更されていることが確認できます。
![](https://sunagitsune.com/wp-content/uploads/2021/07/computer-1343393_1280-160x90.jpg)
やりたいことから逆引きするUNITYの使い方まとめ
Unityをやりたいことから学習していけるよう、機能・用途別にまとめたページです。C#の命令別の逆引きは現時点で作っていません。2019の時期に書き始めているので、それより前のバージョンについては言及しません。
コメント