


自キャラから敵に向かって弾を撃ち、敵や壁に当たったらなにがしかの処理を行う方法です。
成果物
キーを押すと弾を撃ちます。
弾の作成
スクリプトをアタッチし、

Velocityなどで進行方向へ進むように記述します。この状態だと主人公の向きにかかわらず一方方向にしか進まないので、
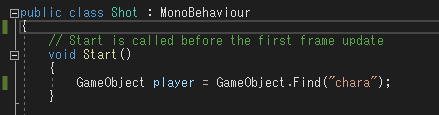
まずはGameObject 変数名 = GameObject.Find(“オブジェクト名”);のように記述して、同じシーンにあるプレイヤーキャラクターのオブジェクトを取得し、
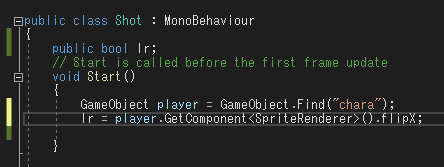
publicで「左右」を判定する論理値の変数を作っておいて、論理値の変数名 = オブジェクトの変数名.GetComponent<SpriteRenderer>().flipX;のように記述して、自キャラが左右どちらを向いているかをStartメソッド内で取得します。
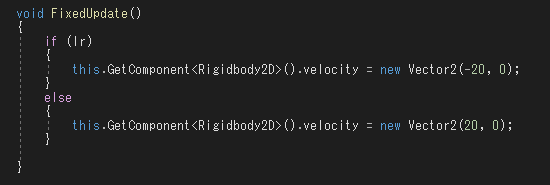
Fixed Updateメソッド内では、この論理値がTrueまたはFalseの場合で逆方向に弾が動くようにします。
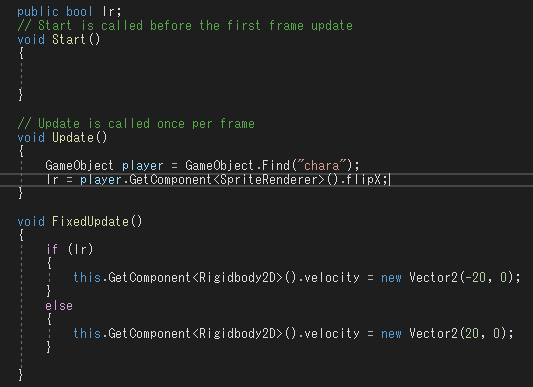
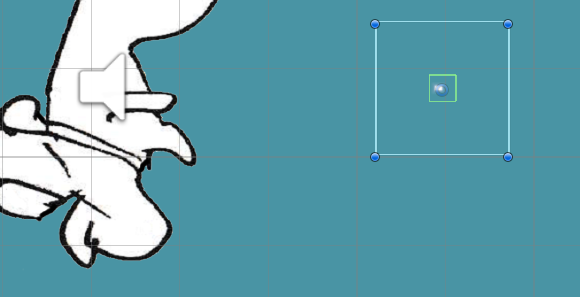
動作確認のために、Start内の内容を一度Updateに移動してテストプレイしてみます。
実行結果です。キャラクターの向きに合わせて弾が右往左往していることが確認できます。
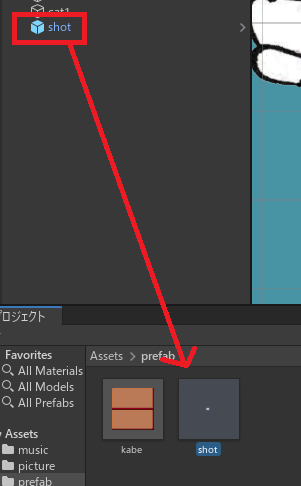
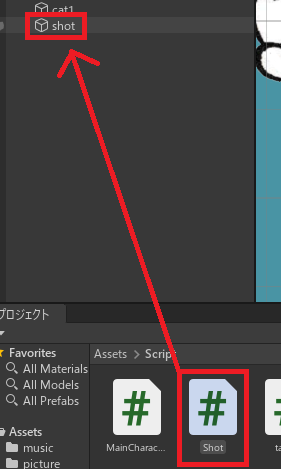
作った弾をプレハブ化し、元のオブジェクトは削除します。
キーを押すと弾を発射
プレハブをゲーム内に出現させる
public GameObject プレハブの変数名;
GameObject 登場させるオブジェクト名 = Instantiate(プレハブの変数名) as GameObject;
public GameObject プレハブの変数名;
GameObject 登場させるオブジェクト名 = Instantiate(プレハブの変数名) as GameObject;
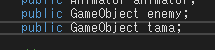
自キャラのスクリプトにpublicでゲームオブジェクトを宣言し、
さっき作ったプレハブをインスペクターでセットします。
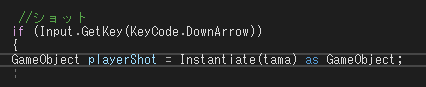
任意のキー内で、GameObject 作る弾の名 = Instantiate(プレハブの変数名) as GameObject;のように指定すると、プレハブをゲーム内に登場させることができますが、

元々オブジェクトがあった場所から発射されてしまうので、

transform.positionで位置を自機の位置に合わせてあげます。
割とそれっぽくなってきたんじゃないでしょうか。
当たり判定についてはまたちょっとちがうことしないといけないので、別記事とします。
//Unity C#

//弾のスクリプト
public class Shot : MonoBehaviour
{
    public bool lr;

    void Start()
    {
     //左右確認
        GameObject player = GameObject.Find("chara");
        lr = player.GetComponent<SpriteRenderer>().flipX;
    }

    void FixedUpdate()
    {
        if (lr)
        {
            this.GetComponent<Rigidbody2D>().velocity = new Vector2(-20, 0);
        }
        else
        {
            this.GetComponent<Rigidbody2D>().velocity = new Vector2(20, 0);
        }

    }
}

//自機のスクリプト
public class MainCharacter : MonoBehaviour
{
public GameObject tama;

    void FixedUpdate()
    {
            //ショット
            if (Input.GetKey(KeyCode.DownArrow))
            {
            //プレハブ召喚
            GameObject playerShot = Instantiate(tama) as GameObject;
            playerShot.transform.position = this.transform.position;
          }
}完成品はこちら。

やりたいことから逆引きするUNITYの使い方まとめ
Unityをやりたいことから学習していけるよう、機能・用途別にまとめたページです。C#の命令別の逆引きは現時点で作っていません。2019の時期に書き始めているので、それより前のバージョンについては言及しません。
sunagitsune.com
2021.07.09


コメント