


Rigidbody.AddForceはRigidbody.Velocityと似ていますが、Velocityが速度を直接変更するのに対し、AddForceでは力を加えて結果として速度や位置などを変更します。どちらも物理演算処理であることには変わりありません。
Rigidbody.AddForceの使い方
物理演算でオブジェクトに力を加える(2D)
オブジェクト.GetComponent<Rigidbody2D>().AddForce(new Vector2(x, y), ForceMode2D.Impulse);
オブジェクト.GetComponent<Rigidbody2D>().AddForce(new Vector2(x, y), ForceMode2D.Impulse);
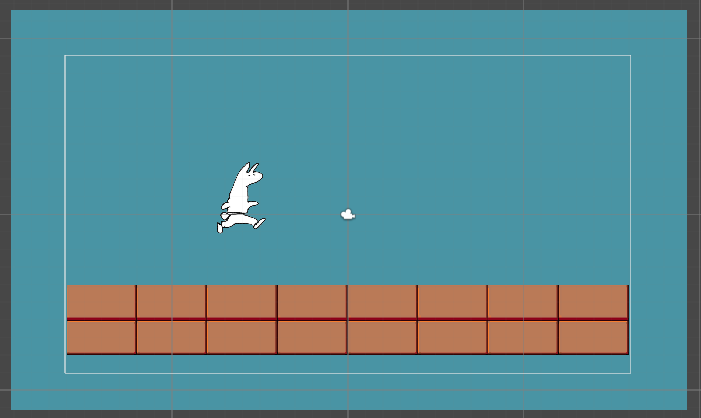
ステージを作ってみました。

Velocityのコード(上下左右キーでVelocityを加算)を引っ張ってきて、キャラクターにセットします。
とりあえずこれで動くようになりましたが、落ちるスピードが遅いので、
リジッドボディの重力スケールを変更し、スピード感を調節していきます。
ジャンプはVelocityで制御していますが、色々読むとAddForceでジャンプさせている例が多いので、
ジャンプはVelocityで制御していますが、色々読むとAddForceでジャンプさせている例が多いので、
そのようにしてみます。どちらを使うかはケースバイケースのようで、一概にジャンプがAddForceというわけでもないようですが……。
this.GetComponent<Rigidbody2D>().AddForce(new Vector2(0, 100), ForceMode2D.Impulse);と書き換えてみます。AddForceの後の二つ目の数字が加える力の大きさになります。
this.GetComponent<Rigidbody2D>().AddForce(new Vector2(0, 100), ForceMode2D.Impulse);と書き換えてみます。AddForceの後の二つ目の数字が加える力の大きさになります。
//Unity C#
void FixedUpdate()
{
//初期化
this.GetComponent<Rigidbody2D>().velocity = new Vector2(0, 0);
if (Input.GetKey(KeyCode.LeftArrow))
{
this.GetComponent<Rigidbody2D>().velocity = new Vector2(-100, 0);
}
if (Input.GetKey(KeyCode.RightArrow))
{
this.GetComponent<Rigidbody2D>().velocity = new Vector2(100, 0);
}
//上
if (Input.GetKey(KeyCode.UpArrow))
{
this.GetComponent<Rigidbody2D>().AddForce(new Vector2(0, 100), ForceMode2D.Impulse);
}
if (Input.GetKey(KeyCode.DownArrow))
{
this.GetComponent<Rigidbody2D>().velocity = new Vector2(0, -100);
}
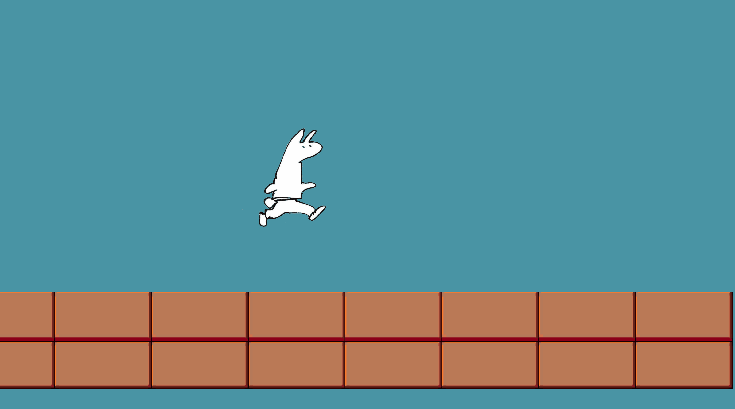
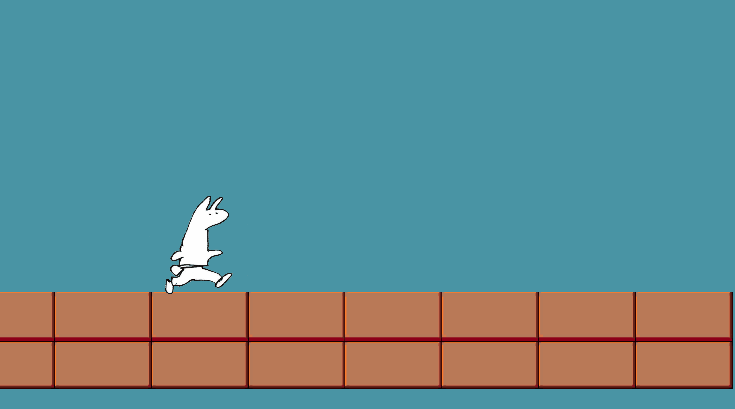
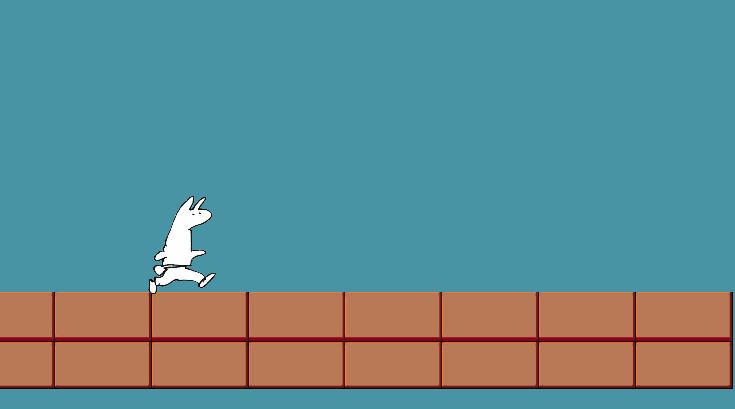
}完成品はこちら。

やりたいことから逆引きするUNITYの使い方まとめ
Unityをやりたいことから学習していけるよう、機能・用途別にまとめたページです。C#の命令別の逆引きは現時点で作っていません。2019の時期に書き始めているので、それより前のバージョンについては言及しません。
sunagitsune.com
2021.07.09


コメント