


vba経由でExcelのフォント、背景の色を変更する方法のご紹介です。
マクロ・VBAの作り方自体がわからない方は下記をご参照ください。

ColorIndexプロパティの使い方
「対象」の「フォント」or「背景」の「色」を変更するという書式で記述します。FontをInteriorにすると背景色を変更することができますし、対象にはRangeの他にCellやSelectionなどを指定することもできます。
対象.Font.ColorIndex = 色番号
背景の色を変更する(色番号)
対象.Interior.ColorIndex = 色番号
※色番号0は「塗りつぶしなし」
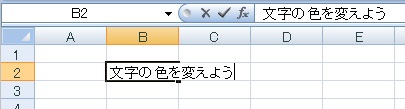
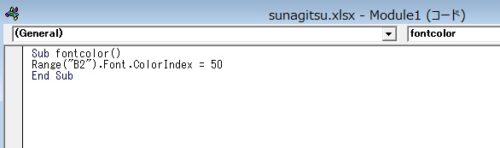
Range(“B2”).Font.ColorIndex = 50
(B2のフォントの色を色番号50に変更する)と入力します。
色番号とは
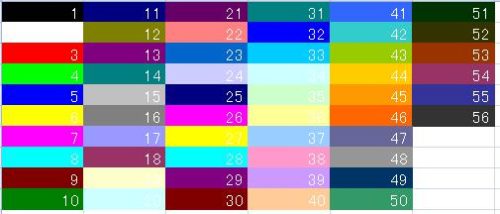
デフォルトでExcelについてるパレットの色で、56色用意されています。57以降はエラーになります。0は「塗りつぶしなし」(デフォルト値)になります。
1は黒、2は白、3は赤、4は緑……とそれぞれの数値に色が割り振られています。
上の表もマクロで作っています。ちょっと脱線しますが、A列に1~56の色番号を出力するだけならFor文を使った簡単なコードでできますので、ご参考までに書いておきます。
' vba
' 1から56まで繰り返し処理を実行
For i = 1 to 56
Range("A" & i).Interior.ColorIndex = i
Next i
背景色の変更をするのでInterior.ColorIndexを使用しています。For nextは1回処理を実行するたびに変数を1増やし、所定の数が終わったらループを終了する命令です。ここでは繰り返しの変数をiとして、そのiをセルの番号(A1,A2..)、色番号(ColorIndex = 1、2…)としても利用しています。
数値以外でColorIndexを指定
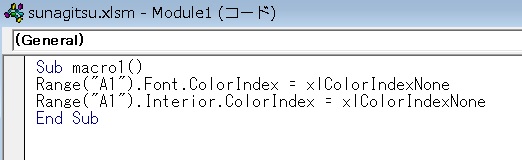
ColorIndexプロパティには定数として、xlColorIndexAutomaticとxlColorIndexNoneが用意されています(xlColorIndex列挙型定数)。
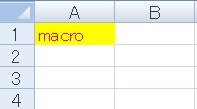
xlColorIndexAutomatic
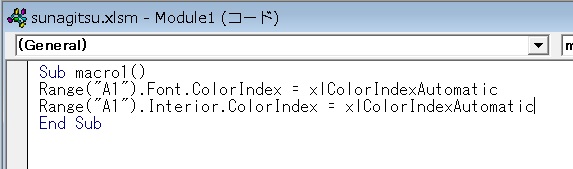
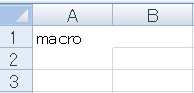
ためしにフォントと背景にそれぞれ適用してみると、

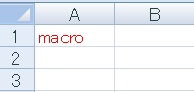
xlColorIndexNone
Colorプロパティの使い方
こちらはRGBで色指定をする方法です。RGBでは引数の中に3つ値を指定しますが、それぞれRed、Green、Blueです。それぞれ0~255まで設定でき、値が大きくなるほどその色が強くなります。
対象.Font.Color = RGB(R,G,B)
背景の色を変更する(RGB)
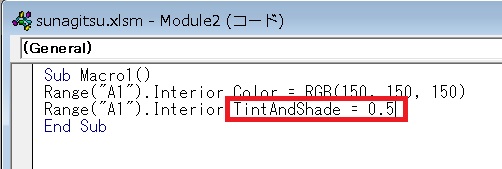
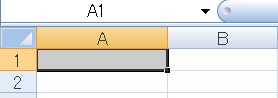
対象.Interior.Color = RGB(R,G,B)

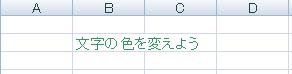
(B2のフォントの色を灰色に変更)と入力、実行するとフォントの色が変更されます
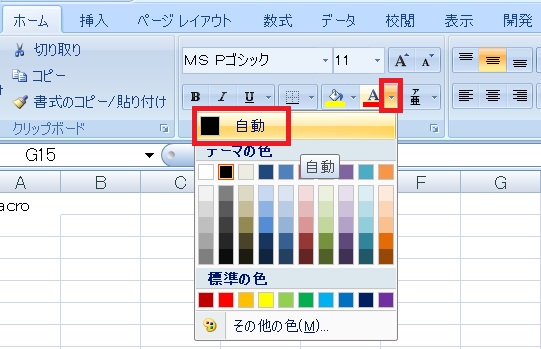
RGBの確認方法・基本ルール
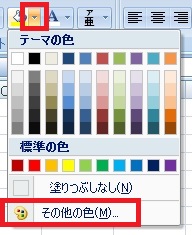
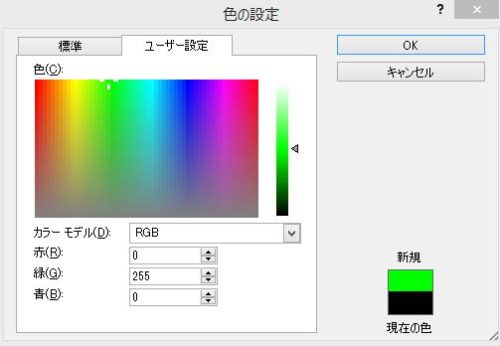
RGBについては「RGB」などで検索するのが一番お手軽ですが、パレット内でも確認することができます。


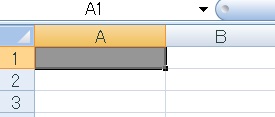
元からある色に対して、明度だけを変更したい場合
TintAndShadeプロパティを使うことで、対象の明度だけを上下させることが可能です(数値は-1~1まで)。
対象.Font.TintAndShade = 数値(-1~1)
背景の明度を変更する
対象.Interior.TintAndShade = 数値(-1~1)
色を直接指定するのではなく相対的に明度を上下させるので、アニメーションのような効果を持たせたり、日数がたつと段々セルが暗くなっていったり……といった効果を加えることが可能です。
色塗り応用編
一行ごとに色を塗る記事を作成しました。IfとFor Nextを使用します。

VBAによる文字色・背景色の変更については以上です。


コメント