


カメラの位置や回転を操作する場合、Camera.main.gameObjectのPositionに対してVector3の値を代入する形となります。
ここでは「カメラがキャラクターを追ってくる」スクリプトを実装します。
成果物
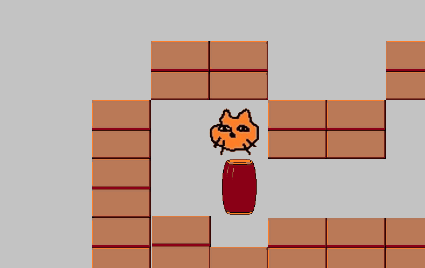
キャラクターが移動すると、カメラが付いてきます。
Camera.main.gameObject.transform.positionの使い方
Main Cameraオブジェクトの位置を変更
Camera.main.gameObject.transform.position = 座標
Camera.main.gameObject.transform.position = 座標
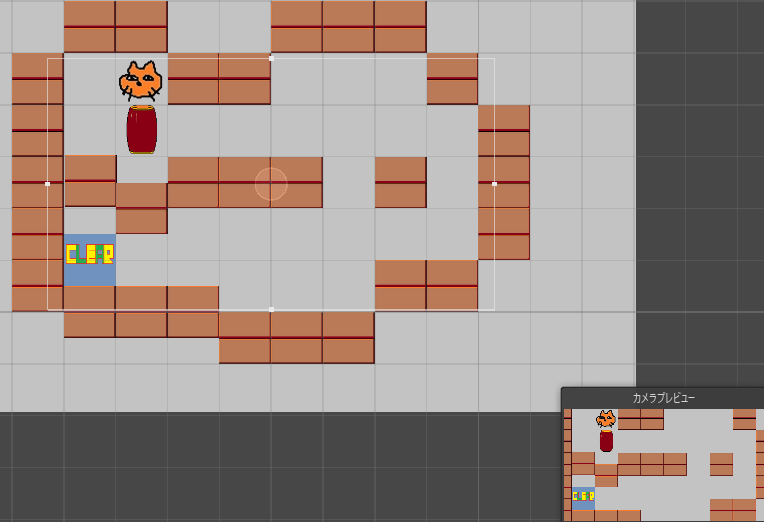
まずはカメラが画面内をすべて映さないように、少しサイズを小さくします。

スクリプトを作り、追跡させたいキャラクターにアタッチします。
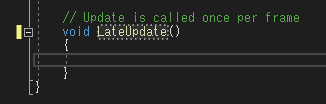
LateUpdateメソッド(他のUpdateが終わった後に実行するUpdate)を記述して書いていきますが、
先に失敗例をやります。
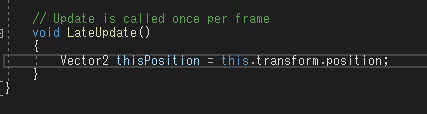
オブジェクトの現在位置をVector2 変数名 = this.transform.position;で取得します。カメラにVectorで位置を指定したいので、キャラの位置をそのままVector2で変数に代入しています。
オブジェクトの現在位置をVector2 変数名 = this.transform.position;で取得します。カメラにVectorで位置を指定したいので、キャラの位置をそのままVector2で変数に代入しています。
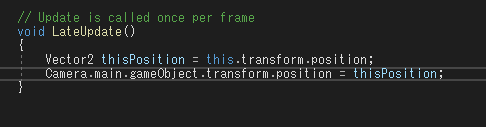
メインカメラはCamera.main.gameObjectとすることで指定できます。
というわけで、Camera.main.gameObject.transform.position = 変数名;として実行すると、
というわけで、Camera.main.gameObject.transform.position = 変数名;として実行すると、
動くんですが、明らかにおかしな画面になります。
なんでかというと、
なんでかというと、
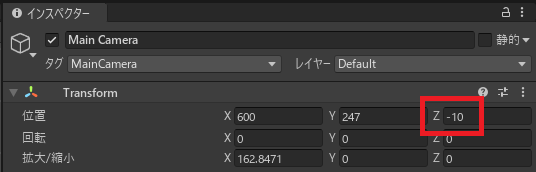
2Dの場合もカメラは奥行きがあり、zが常に-10に設定されているからです。
カメラに位置を指定する場合は、Vector3を使用して縦横奥行きの座標を指定し、その後でz軸を-10に指定する必要があります(か、xとyを別々に指定する)。
カメラに位置を指定する場合は、Vector3を使用して縦横奥行きの座標を指定し、その後でz軸を-10に指定する必要があります(か、xとyを別々に指定する)。
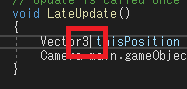
というわけで、さっきのスクリプトのVector2をVector3に変更し、
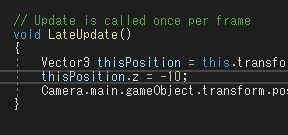
その後で変数のz軸を-10に指定します。
この状態で実行すると、カメラがキャラクターについてくるようになります。
//Unity C#
    void LateUpdate()
    {
        //アセットしたオブジェクトの現在位置をVector3の変数に代入
        Vector3 thisPosition = this.transform.position;
        //z軸だけ-10に設定する
        thisPosition.z = -10;
        //カメラの現在位置に変数を代入
        Camera.main.gameObject.transform.position = thisPosition;
    }
やりたいことから逆引きするUNITYの使い方まとめ
Unityをやりたいことから学習していけるよう、機能・用途別にまとめたページです。C#の命令別の逆引きは現時点で作っていません。2019の時期に書き始めているので、それより前のバージョンについては言及しません。
sunagitsune.com
2021.07.09


コメント