


Power Automate DesktopのDL、インストールなど最初にすることまとめです。
※記事内の動線、文言は変更される可能性があります。
Power Automate Desktopとは
Microsoft社が提供するRPA(自動化)ツールの名称で、Windows10ユーザーであれば無料で使用することができ、Windows11には標準で搭載されています(つまりWin11ユーザーはインストールする必要はありません。最初からされてます)。
クラウドベースのPower Automate(有償)とちがい、PCに直接インストールして使います。
ダウンロード
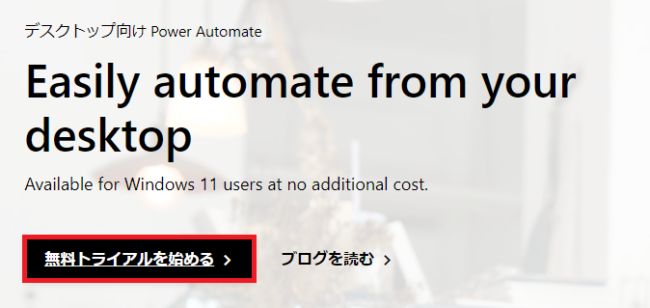
公式ページの無料トライアルを始めるをクリックし、
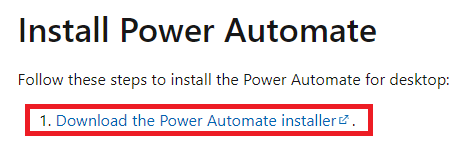
インストーラーのリンクをクリックします。
インストール
落としたexeファイルを開きます。
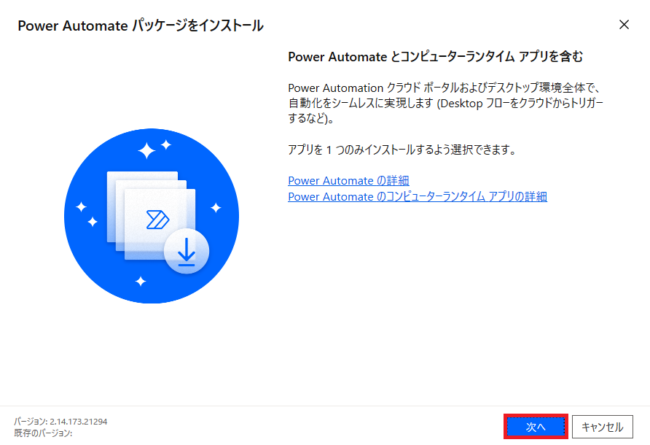
次へをクリックします。
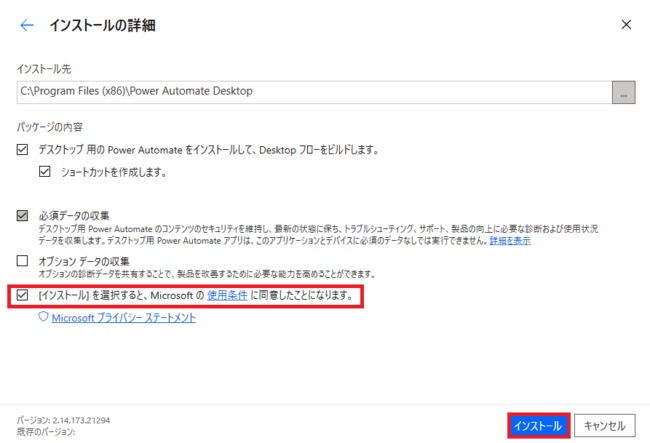
使用条件に同意してインストールをクリックします。
拡張機能の有効化
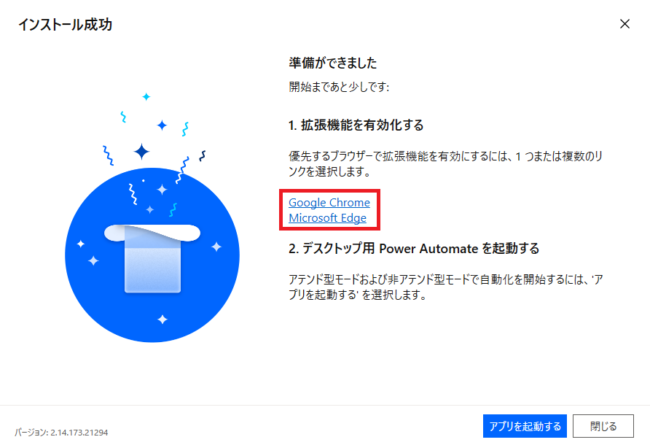
インストールが完了すると、このまま起動するか拡張機能を有効化するかを選択できます。
拡張機能は後でも追加できますが、ブラウザ上(ChromeかEdge)でも使う予定ならリンクをクリックします。
拡張機能は後でも追加できますが、ブラウザ上(ChromeかEdge)でも使う予定ならリンクをクリックします。

拡張機能をブラウザに追加します(画面はChrome)。
サインイン
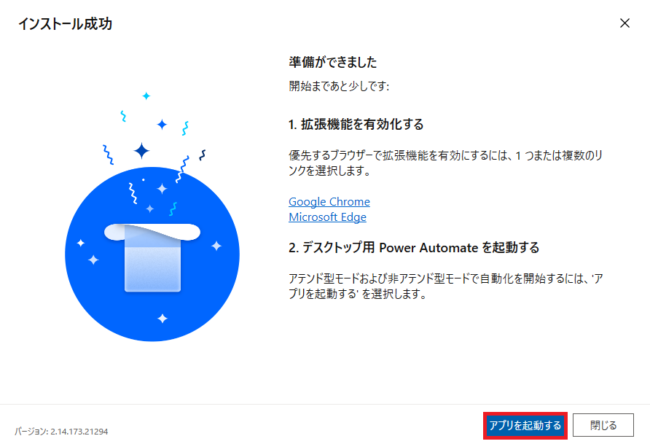
アプリを起動するをクリックします。
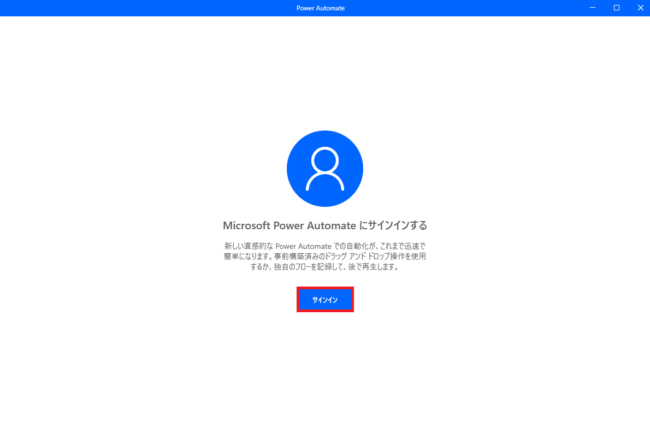
サインインをクリックします。
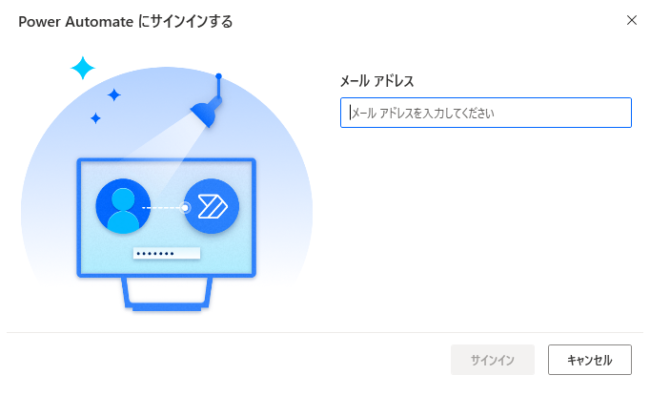
Microsoftアカウントのメールアドレスを入力してサインインをクリックします。もし持っていなければ、アカウントページ→サインイン→作成からアカウントとアドレスを作成してください。
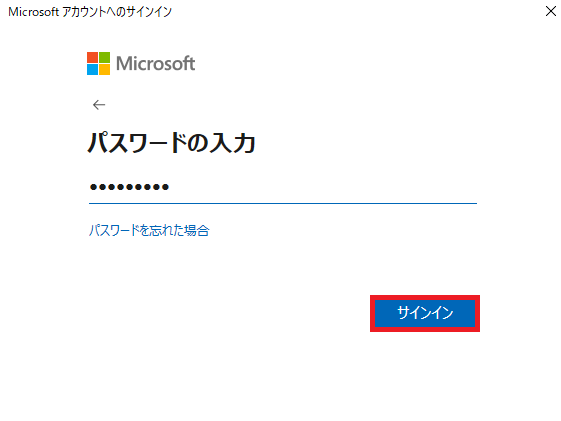
パスワードを入力してサインインをクリックします。
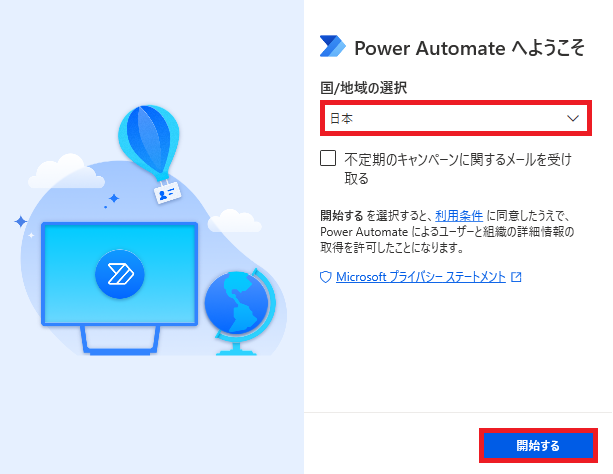
国/地域を選択して開始するをクリックします。お知らせメールのチェックは不要なら外しておきます。

以上です。クイックツアーは初回起動時ガイドが表示されるので、未経験であればツアーを開始するをクリックしてください。

Microsoft Power Automate Desktop(PAD)アクション、使い方一覧
Power Automate Desktopの使い方を機能・分類別に参照できるまとめです。
sunagitsune.com
2021.11.16


コメント