


オブジェクトにスクリプトを仕込んで、キー操作で動かしてみる、というプログラムです。意外と簡単です。
成果物
キーを押すと移動するオブジェクトを作ります。
Input.GetKey
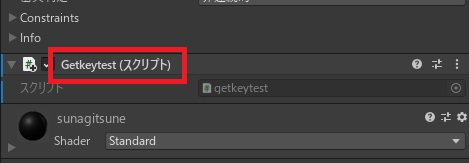
前準備としてスクリプトを作成し、オブジェクトにスクリプトをアタッチして、スクリプトを開きます。
Inputはさまざまな入力を取得することができるクラスで、これにGetKeyを付けることでさらにキー入力と指定できます。
//左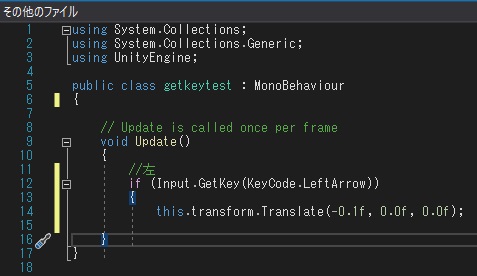
if (Input.GetKey(KeyCode.LeftArrow))//左
if (Input.GetKey(KeyCode.LeftArrow))
{
...
}If(条件){}で囲むことで、「もし←が押されたら…の処理をする」という命令になっています。
{}は省略してもOKです。
{}は省略してもOKです。
this.transform.Translate(-0.1f, 0.0f, 0.0f);押された時の処理ですが、thisはスクリプトを埋め込んだ「これ」つまりゲームオブジェクト自体のことで、それのTransformコンポーネントを操作しています。後ろの数値はそれぞれx,y,z軸を意味します。
-0.1fで左にちょっと動きます。
-0.1fで左にちょっと動きます。
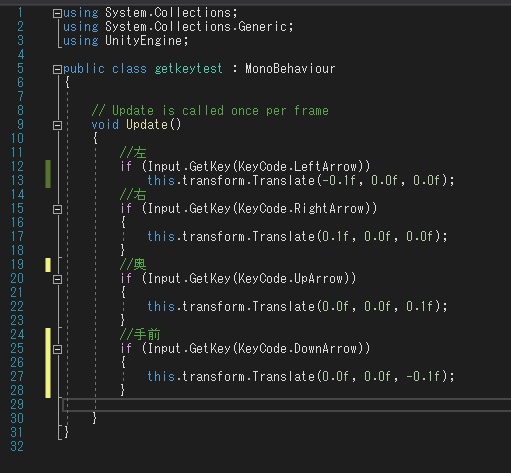
というわけで残りも設定すると、下記のようになります。
変更を保存してゲームを実行し、キー操作でオブジェクトが動かせることを確認します。
変更を保存してゲームを実行し、キー操作でオブジェクトが動かせることを確認します。
//Unity C#
using System.Collections;
using System.Collections.Generic;
using UnityEngine;

public class getkeytest : MonoBehaviour
{

    // Update is called once per frame
    void Update()
    {
        //左
        if (Input.GetKey(KeyCode.LeftArrow))
        {
            this.transform.Translate(-0.1f, 0.0f, 0.0f);
        }
        //右
        if (Input.GetKey(KeyCode.RightArrow))
        {
            this.transform.Translate(0.1f, 0.0f, 0.0f);
        }
        //奥
        if (Input.GetKey(KeyCode.UpArrow))
        {
            this.transform.Translate(0.0f, 0.0f, 0.1f);
        }
        //手前
        if (Input.GetKey(KeyCode.DownArrow))
        {
            this.transform.Translate(0.0f, 0.0f, -0.1f);
        }

    }
}
Input.GetAxis
別の方法として、Input.GetAxisを使う方法もあります。
位置情報を取得
transform.position
Updateにtransform.positionと記述すると、現在位置を常に取得するので、
現在位置+xyzの座標
transform.position += new Vector3();
その後ろにnewで新しく規定するVector3()という命令を置きます。
Vector3では3D空間での距離を指定することができます。()の中にはx,y,zを指定します。
Vector3では3D空間での距離を指定することができます。()の中にはx,y,zを指定します。
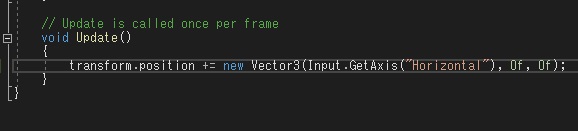
xyzの距離のうち、yとzは0でxのみ水平方向の入力を取得
Vector3(Input.GetAxis("Horizontal"), 0f, 0f);GetAxis(“Horizontal”)をx座標に指定すると、→で+1、←で-1が返されます。
これを+=でつないだtransform.positionに加算することで、
これを+=でつないだtransform.positionに加算することで、

左右キーで素早く動く操作が実現できます。
なお、Vertical()だと上下キーで操作可能になります。
なお、Vertical()だと上下キーで操作可能になります。
//Unity C#
    void Update()
    {
        //左右キーで横、上下キーで縦に移動
        transform.position += new Vector3(Input.GetAxis("Horizontal"), Input.GetAxis("Vertical"), 0f);
    }

やりたいことから逆引きするUNITYの使い方まとめ
Unityをやりたいことから学習していけるよう、機能・用途別にまとめたページです。C#の命令別の逆引きは現時点で作っていません。2019の時期に書き始めているので、それより前のバージョンについては言及しません。
sunagitsune.com
2021.07.09


コメント