


Rotationプロパティを使うと、図形を好きな角度に傾けることができます。
Rotationプロパティの使い方
図形の角度を取得
Shapeオブジェクト(またはShapeRangeコレクション).Rotation
Shapeオブジェクト(またはShapeRangeコレクション).Rotation
角度の変更
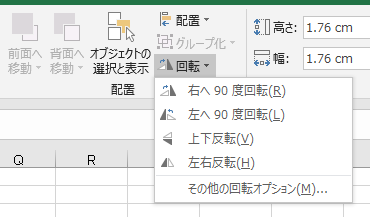
通常操作で言う書式タブ→配置内の回転→角度指定にあたるのがRotationプロパティです。
現在の角度に関係なく、指定した角度に変更されます。
現在の角度に関係なく、指定した角度に変更されます。
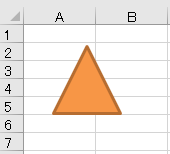
こうした図形に対し、
' vba
ActiveSheet.Shapes(1).Rotation = 90
Rotationプロパティを使い、度数換算で角度を指定してやれば、
その角度分図形が傾く、というわかりやすいプロパティです。
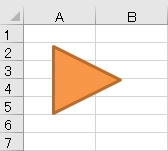
' vba
ActiveSheet.Shapes(1).Rotation = -90
値はマイナスで指定することもできます。-90度と270度は同じ角度です。
角度の出力
' vba
Range("A1").Value = ActiveSheet.Shapes(2).Rotation
図形の角度を取得して他の図形と合わせたり、値を出力することも可能です。
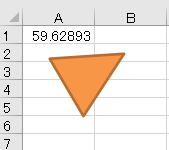
実行例です。
IncrementRotationメソッドの使い方
図形の角度を加算
Shapeオブジェクト(またはShapeRangeコレクション).IncrementRotation 角度
Shapeオブジェクト(またはShapeRangeコレクション).IncrementRotation 角度
ハンドルで図形を回転させる操作は、VBAではIncrementRotationメソッドにあたります。
' vba
ActiveSheet.Shapes(1).IncrementRotation 10
こちらは現在の角度に指定角度を加算していくことができます。
Rotationでも代用できますが、ちょっとずつ回転させたい場合などはこっちのほうがシンプルな記述になります。
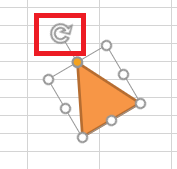
中心点をずらして回転
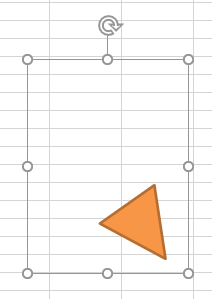
ついでにちょっとテクニックを。こんな感じで図形と線を作っておき、
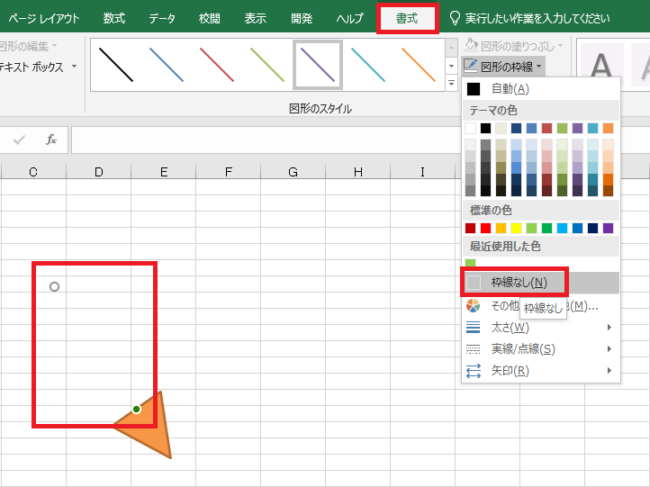
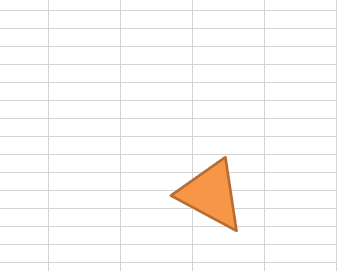
線を書式タブの図形の枠線→枠線なしで透明にします。

Ctrlを押しながら三角形をクリックして、複数選択状態にします。
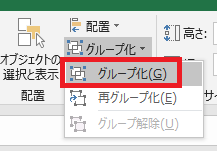
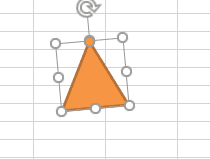
書式タブ→グループ化→グループ化で三角と線をグループにします。
この一連の操作もしたければマクロ化できます。
この一連の操作もしたければマクロ化できます。
図形がグループ化されました。
' vba
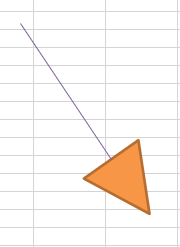
ちょっとずつ回す
ActiveSheet.Shapes(1).IncrementRotation 10この状態でさっきのコードを実行すると、
中心点を図形中心からズラした状態で回転させることが可能です。
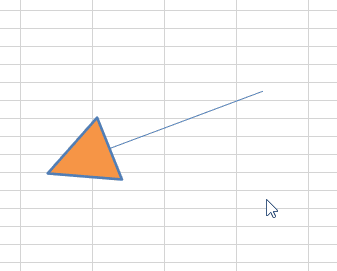
この場合、中心点は線と三角形を合わせた直線の中間点になります。
逆方向に同じ図形をくっつける等すれば、線の先端を中心に回転させることも可能です。
逆方向に同じ図形をくっつける等すれば、線の先端を中心に回転させることも可能です。

Excel(エクセル):図形
Excelでは、図形という機能を使うことで四角形や丸、矢印などのオブジェクトをシート状に配置することができます。セルの形状を無視して配置できるので、フローチャートや装飾、注釈などアイデア次第でさまざまな用途に利用できます。
図形作成・操作...
sunagitsune.com
2021.05.21

やりたいことから方法を探すエクセル(Excel)操作・関数・VBA(マクロ)逆引きまとめ
逆引き(やりたいことから探す)Excel記事まとめ
sunagitsune.com
2018.11.04

関数・演算子・メソッド・プロパティ名から探すExcel/VBA(マクロ)使い方・組み合わせ方まとめ
こちらはExcelやメソッドの諸機能を、機能の名称から探せるまとめ記事です。
sunagitsune.com
2018.12.30


コメント